Mixing epoxy resin seems pretty straightforward.
Pour in the resin, add the hardener, give it a stir, and you're ready to go.
Right?
Well, almost.
It's easy to assume that being a little off with your measurements won't matter, or that a quick stir is good enough.
The problem is that epoxy isn't very forgiving when it comes to either. Get the ratio wrong or don't mix thoroughly enough, and you can end up with sticky spots, soft areas, uneven curing, or resin that never fully hardens.
The good news is that mixing epoxy resin isn't complicated. You just need to know what matters and take a few extra minutes to do it right.
Why is Mixing Epoxy Resin Important?

Epoxy resin is a two-part system: resin and hardener. When they're combined in the correct proportions and mixed thoroughly, they react and cure into a solid finish.
Mixing might not be the most exciting part of your project, but it's one of the most important factors in whether your project turns out the way you expect.
Proper mixing helps ensure:
• No streaks or lines from unmixed product
• Proper working time
• Even distribution if adding pigments or additives
• A complete, reliable cure
• A smooth, consistent finish
Most curing problems come down to two things: the ratio was wrong, or the resin wasn't mixed thoroughly enough.
Both are easy to avoid.
What is the Mixing Ratio For Epoxy Resin?

It depends on the epoxy you're using.
Some epoxies use a 1:1 ratio. Others use 2:1. Some provide measurements by volume, by weight, or both.
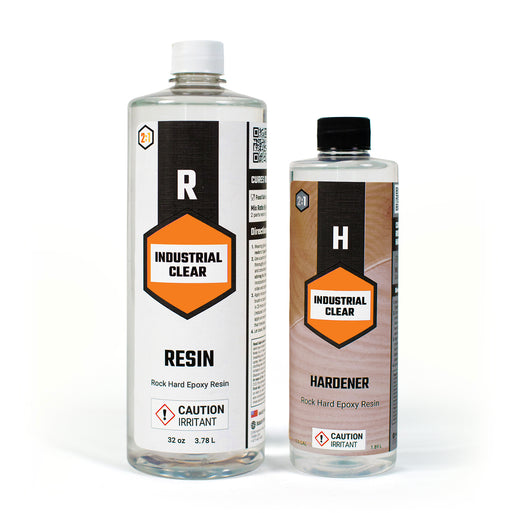
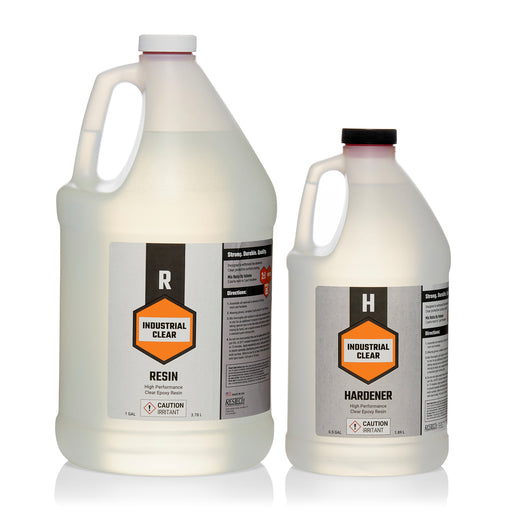
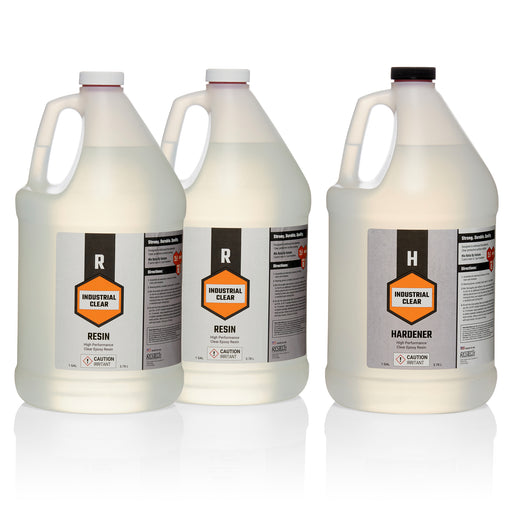
💡 TIP: For Industrial Clear, the mixing ratio is 2:1 by volume — two parts resin to one part hardener. If you're measuring by weight, the ratio is 100:54 resin to hardener.
Always follow the manufacturer's instructions for your specific epoxy.
And don't wing it. Adding extra resin or hardener won't make your epoxy resin cure faster. It can actually leave you with a soft or sticky mess instead that's a lot harder to fix than it was to measure properly in the first place.
Step By Step: How to Mix Epoxy Resin
Step 1: Gather Your Supplies
Have everything ready before you start. Once you combine the resin and hardener, your working time has begun.

You'll Need:
• Industrial Clear Resin and Hardener
• Measuring cups with graduated lines
• A clean mixing container
• Stir stick
• Nitrile Gloves
• Level
• A Maker's Torch or propane torch
• Dust cover
Make sure your cups and tools are clean and completely dry.
Get your project ready before you mix. You don't want to be halfway through stirring and realize you still need to tape edges or you don't have a dust cover.
Step 2: Measure Your Resin and Hardener

First, figure out how much epoxy you'll need.
The Industrial Clear Epoxy Calculator can do the math for you. Enter the length and width of your project, choose inches or centimeters, and it will estimate how much resin you'll need and recommend the right kit size.

💡 TIP: The calculator gives you the amount needed for one layer, by volume. If you're applying multiple coats, multiply the amount by the number of layers to determine how much you'll need in total.
Measure your resin and hardener carefully using graduated measuring cups or containers.
For larger batches, use a sturdy, wide-mouth bucket or mixing container with plenty of room to stir comfortably without splashing.
Step 3: Mix the Resin

Here's where you want to slow down.
Combine the resin and hardener and mix slowly and thoroughly for at least 6-8 minutes.
As you stir, scrape the sides and bottom of the container. Resin and hardener can cling there, and if they're not incorporated into the mix, they'll end up in your project uncured.
A few things to remember:
• Stir slowly and steadily
• Scrape the sides and bottom as you go
• Keep stirring for the full 6-8 minutes
• Set a timer rather than guessing
• Avoid aggressive stirring or whipping, which can introduce air bubbles
• Ensure there are no streaks or lines of unmixed product
It may look mixed after a minute or two.
Keep going.
Those extra few minutes are a lot easier than fixing a project that hasn't cured.
Can I Mix Epoxy Resin in a Plastic Cup?

Yes. For small batches, a clean, sturdy plastic cup works just fine.
Make sure the cup is:
• Clean and completely dry
• Sturdy enough to stir without tipping
• Large enough to hold your mixture without splashing
Avoid thin or flimsy cups that can bend or tip while you're stirring.
Polypropylene cups are good options, especially if you plan to reuse them. Once the resin cures, it's easy to peel it out.
For larger batches, use a sturdy bucket or pail with a wide opening. Don't let a large batch sit in the container longer than necessary. The more epoxy you have in one place, the more heat it generates, which can shorten your working time and increase the risk of flash curing.

What's the Best Stirring Technique?

When it comes to how to mix epoxy and hardener, slow and steady wins.
Use a flat stir stick and work your way through the entire container.
Scrape the sides. Scrape the bottom. Stir from the bottom up.
You want to thorough mixing without whipping a lot of of air into the epoxy.
Fast, aggressive stirring creates more bubbles, which means more work for you later.
💡 TIP: Scrape while you're mixing, but don't scrape the container clean when you're pouring. Any material left clinging to the sides or bottom may not be fully mixed, and you don't want it ending up on your project.
What Are the Most Common Mixing Mistakes?
Most epoxy problems can be traced back to one of these common mistakes:
Measuring by Guesswork
Don't eyeball your resin and hardener. Use a graduated measuring cup and the ratios specified by the manufacturer.
Not Mixing Long Enough
A quick stir isn't enough. Give your epoxy the full recommended mixing time and scrape the sides and bottom.
Stirring Too Fast
Avoid the temptation to whip the resin like you're beating eggs. Slow, controlled stirring helps keep unnecessary air out of the mix.
Using Dirty or Wet Tools
Your containers and tools should be clean and dry. Contamination or moisture can affect your results.
Ignoring Temperature
Temperature matters.
For Industrial Clear, the ideal working temperature is 70-80°F (21-27°C), and those conditions should be maintained while the epoxy cures.
Avoid working below 50°F (10°), as the resin may not cure properly.
At the other end of scale, avoid pouring above 95°F (35°C). High temperatures can cause the epoxy to heat up quickly, shortening your working time and increasing the risk of overheating, cracking or other problems.
Letting Mixed Epoxy Sit
Once the resin and hardener are combined, your working time begins. Don't mix a large batch and leave it sitting in the container while you get the rest of your project ready.
Epoxy is sensitive to both temperature and mass. The more mixed epoxy you have sitting in one place, the more heat it generates. That heat speeds up the curing process, shortening your working time and increasing the risk of flash curing.
Mix it, pour it, and get it spread out as soon as you can.
Forgetting About Safety
Always follow the safety instructions and PPE requirements for the epoxy you're using. Industrial Clear requires nitrile gloves and a well-ventilated space during use.
PPE requirements can vary between epoxy systems, so always check the product label and manufacturer's Safety Data Sheet before you begin.
How to Mix Epoxy Resin with Color

Adding color is easy — just get your basic epoxy mix right first.
For the best results, follow this order:
- Measure your resin and hardener accurately.
- Mix the resin and hardener thoroughly.
- Add compatible pigment, dye, or mica powder gradually.
- Stir gently until the color is evenly distributed.
- Keep the total colorant to no more than 6% of the combined volume of Industrial Clear resin and hardener.
Don't add color before the resin and hardener are fully mixed. And once you've added the color, keep your stirring gentle. Aggressive mixing can introduce unnecessary bubbles.
Can I Add Water To My Epoxy Resin Mix?
No. Water isn't part of the epoxy system, and adding it — or another liquid that isn't designed for epoxy — can interfere with curing and affect the finished result.
If you're adding anything to resin, make sure it's compatible with your epoxy and test it first.
How Long Does Epoxy Resin Last Once Mixed?

Working time varies depending on the product, temperature and batch size.
With Industrial Clear, you have approximately 45 minutes of working time before the epoxy becomes too thick to work with. However, we recommend pouring it within about 10 minutes of mixing.
Why?
Epoxy is sensitive to both temperature and mass. A large amount of mixed epoxy sitting in a container can generate heat and cure much faster than the same epoxy spread across your project.
Get everything set up first. Mix second. Pour soon after.
Get the Mix Right
Mixing epoxy isn't complicated. It just deserves a little more attention than it gets.
Measure the right amounts, mix thoroughly, keep your stirring slow and steady, and don't let a large batch sit around once its mixed.
A few extra minutes at the mixing stage can save you a whole lot of frustration later.
Industrial Clear: Rock Hard Epoxy Resin