Whether you're pouring a countertop or tabletop, refreshing a concrete surface, or protecting a project you've spent hours creating, epoxy resin adds a durable finish that's built to last.
Epoxy resins can be used on everything from wood and concrete to metal and more. When applied properly, it creates a hard, long-lasting finish that helps protect your work from everyday wear and tear.
The key to epoxy is taking your time with the basics: proper surface prep, accurate measuring, and thorough mixing. Getting those steps right goes a long way toward a successful project.
In this blog, we'll cover the basics of working with epoxy resin, along with practical tips to help you avoid common pitfalls and get the results you're after.

Supplies You'll Need
Before you begin, gather your materials and prepare your workspace:
• Industrial Clear epoxy resin
• Mixing cups (disposable or reusable)
• Stir Sticks
• Measuring containers
• Nitrile gloves
• Drop cloth or plastic sheeting to protect your surface
• Level to ensure a flat, even finish
• Torch for removing surface bubbles
• Dust Cover
• Optional: pigments, metallic powders, or other inclusions

Step 1: Get Your Workspace Ready
A little prep goes a long way.
Before you start mixing, make sure your workspace is clean, level, and well-ventilated. Temperature and humidity matter too. For Industrial Clear, aim for 70-80°F (21-27°C) and 50-80% humidity while you're working.
Dust, debris, uneven surfaces, and the wrong environmental conditions can all affect your final result.
Your project should be ready for epoxy before you mix. Ensure the surface is clean, dry, and free of contaminants and sealed or taped off as needed. If you're working with cracks or voids, make sure they're properly sealed so your resin doesn't find a way out.
Have your tools and materials ready to go before you mix. Once epoxy is mixed, the clock starts ticking.

Step 2: Measure Accurately
Getting the mix ratio right is one of the most important steps in the process.
Before measuring, determine how much epoxy you'll need. If you're unsure, Industrial Clear's Epoxy Calculator can help you estimate the right amount for your project.
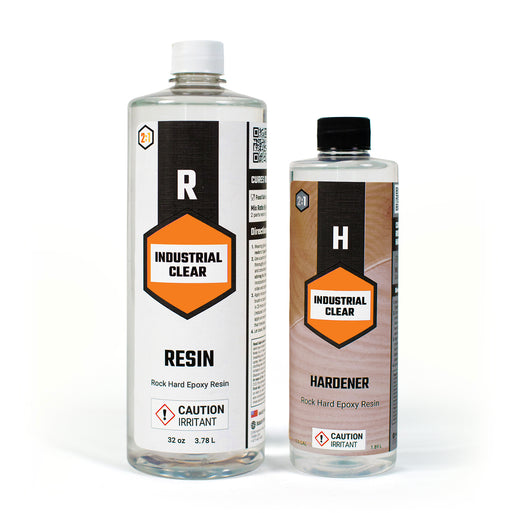
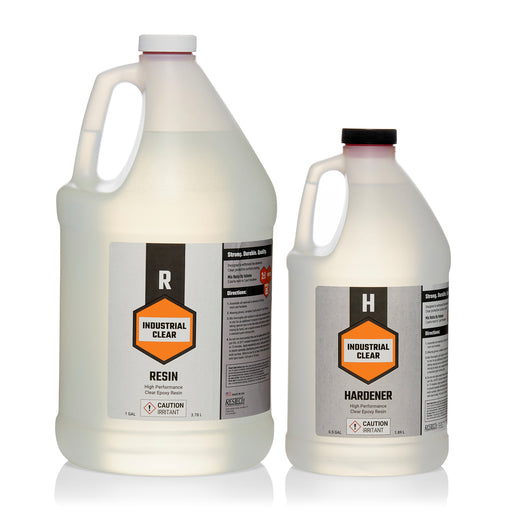
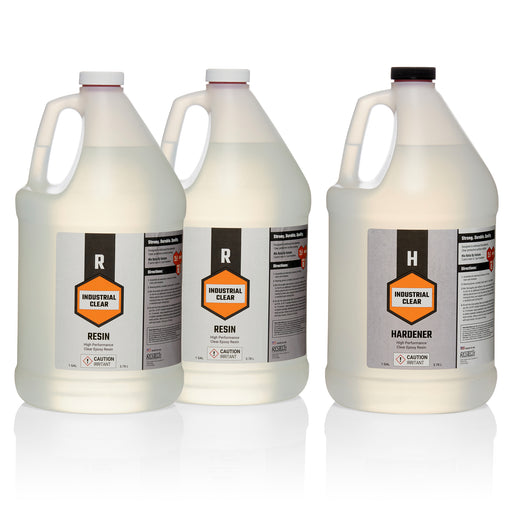
Industrial Clear uses a 2:1 resin to hardener ratio by volume, but many epoxy systems are different. Some products use a 1:1 ratio, while others provide separate ratios for measuring by volume or by weight.
Always follow the label directions and make sure you're measuring using the correct method.
Guessing, eyeballing measurements or adjusting the ratio can lead to soft spots, tacky areas, or a finish that never fully cures.

Step 3: Mix Thoroughly
Combine the resin and hardener in clean containers according to the manufacturer's instructions.
Stir slowly and thoroughly, scraping the sides and bottom of the container as you go. Avoid whipping the mixture, which can introduce unnecessary air bubbles.
Incomplete mixing is one of the most common causes of curing problems, so don't rush this step.
If you're adding colorants, wait until the resin and hardener are fully mixed before incorporating them. Don't add more than 6% of the total combined volume of resin and hardener.

Step 4: Apply the Epoxy
How you apply epoxy will depend on the project.
For coatings, spread the epoxy evenly across the surface. For deeper pours, follow the manufacturer's recommended pour depth and work in layers if needed. If you're filling voids or cracks, pour slowly to help reduce trapped air.
Once poured, use a torch to remove surface bubbles. Keep it moving and avoid concentrating heat in one area. If you're working with a silicone mold, use for a heat gun instead as a flame can damage the mold.

Step 5: Let It Cure
Epoxy needs time to do its job.
Protect the surface from dust, debris with a dust cover. Ensure the temperature and humidity stay stable — cold temperatures and moisture can interfere with the finish while it cures.
Avoid sanding, machining, or putting the project into service until the epoxy has reached a full cure. Industrial Clear's full cure time is 7 days, but this can vary among brands, so always check the manufacturer's instructions.
Rushing this step is one of the easiest ways to undermine an otherwise great project.

A Few Tips for Better Results
• Work within the recommended temperature range of 70-80°F (21-27°C) with humidity between 50-80%.
• Follow the manufacturer's safety instructions and recommended PPE requirements. Industrial Clear requires the use of nitrile gloves during handling and working in a well-ventilated space.
• Mix only what you can comfortably apply within the product's working time.
• Keep surfaces level to help ensure an even finish.
• Test pigments and additives on a sample piece before using them on a finished project.

Build It Right the First Time
Great epoxy results don't come from shortcuts — they come from getting the basics right.
A properly prepared surface, accurate measurements, thorough mixing, and patience during curing can make the difference between a frustrating repair and a project you'll be proud to put to work.
Taking the time to do the basics well will help you get the most from your epoxy.
Industrial Clear: Rock Hard Epoxy Resin