Epoxy resin enhances wood's natural beauty and provides long-term protection. While choosing a high-quality epoxy is essential, the correct tools and techniques also play a significant role in achieving the best results.
Here are our top 10 tips for preparing and applying epoxy resin to wood:

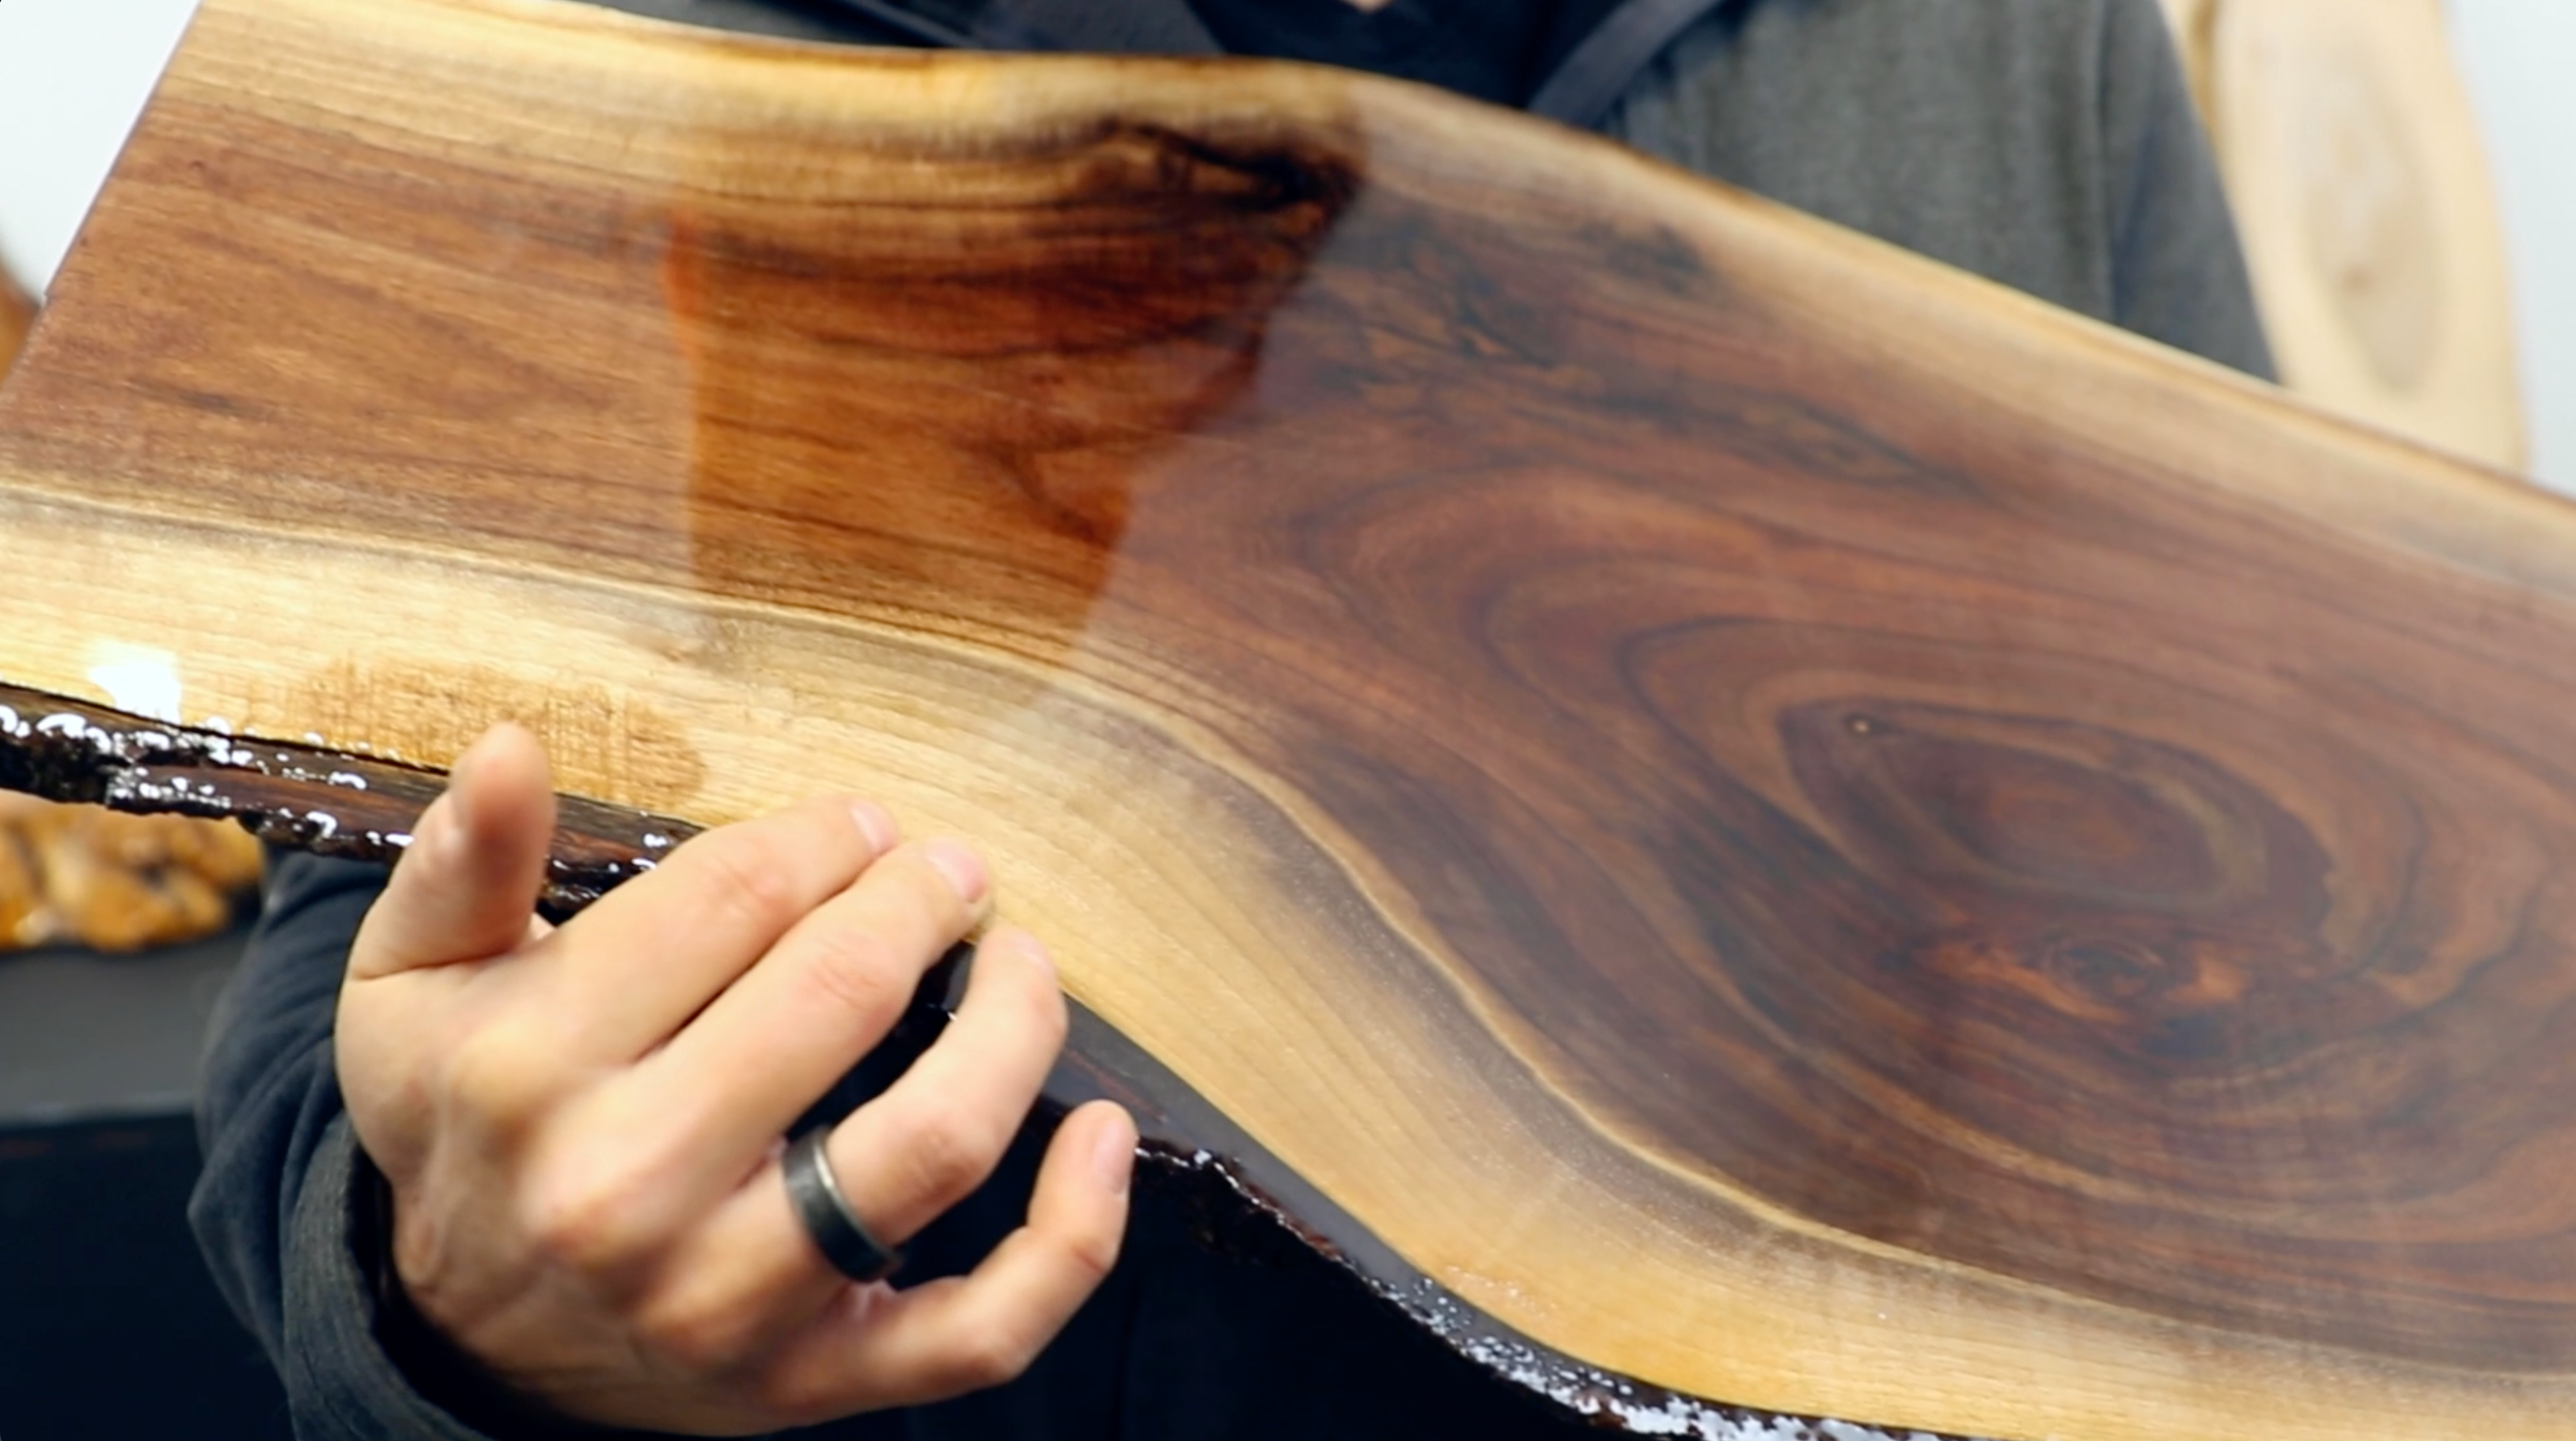
Tip 1: Embrace Natural Imperfections
When selecting a piece of wood, don't underestimate the beauty of natural imperfections: Wormholes, knots, cracks, holes, and burls become stunning features once filled with epoxy.
Epoxy resin looks great over a variety of wood types, including walnut, maple, cherry, and ash. However, the key to is to choose a grain and color that you love.


💡TIP: Be aware that epoxy resin will change the color of wood. In most cases, it will look gorgeous; however, certain types of wood may become darker. We recommend conducting a small sample test first, so you know exactly what to expect. Apply a small amount of water to the surface. If the wood becomes darker than you’d like, seal the wood with a clear-drying wood sealant before applying epoxy to help preserve the original look.

No matter which type of wood you choose, it should be dry before applying epoxy resin. Moisture in the wood can lead to poor adhesion, a cloudy cure, and can cause the wood to expand and contract with changing weather, potentially resulting in the epoxy cracking.
To eliminate guesswork, we recommend getting kiln-dried wood from a reliable supplier. Air-drying wood is also an option, but while it's more cost-effective, it takes significantly longer for wood to dry, typically one year per inch of wood thickness. If you dry your own wood, a moisture meter is a good investment. Aim for a moisture reading of 12% or less (although this can vary depending on the type of wood you use).
💡 TIP: Store wood indoors in a dry, climate-controlled environment to avoid moisture related issues.

Tip 2: Prep Your Wood: Sand, Seal, Tape, Level
It's really important to prepare the wood surface before applying epoxy: Remove dirt and debris, and sand off any oily or waxy residue on the wood to ensure the epoxy properly adheres. Make sure you remove loose pieces of wood or bark to prevent them from floating away (and curing) into the epoxy.

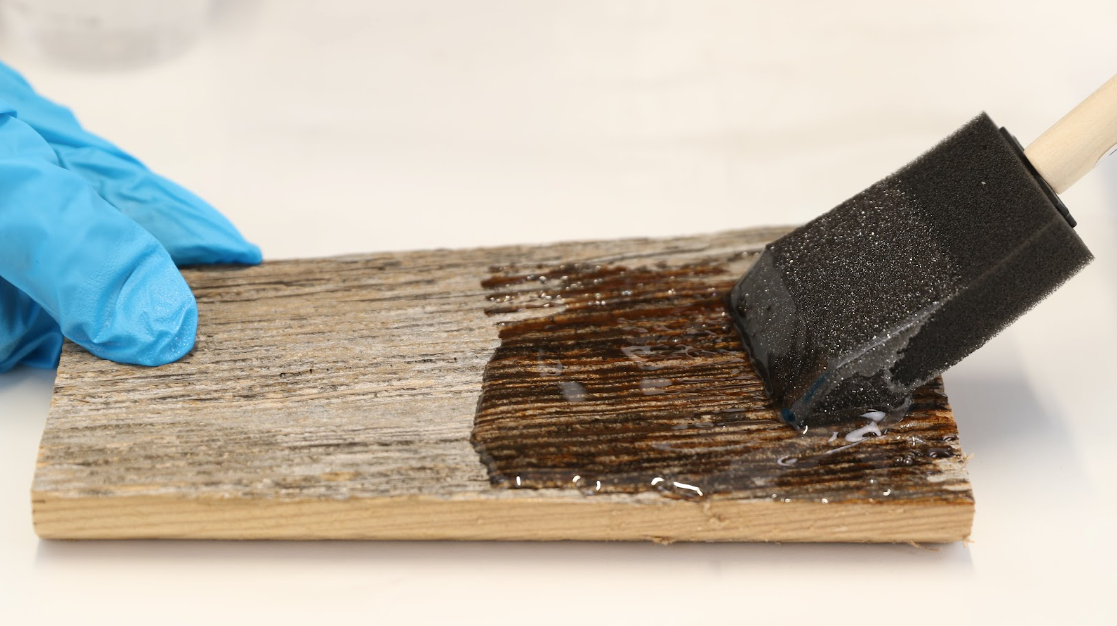
Sealing wood prevents air bubbles and absorption, which means you end up using less epoxy overall. Porous materials like wood can release air bubbles into the epoxy, and very dry wood has a tendency to soak up epoxy like a sponge, requiring multiple coats. Applying a sealant coat creates a barrier that prevents both of these issues.

To apply a seal coat, use a clear-drying wood sealant or a thin coat of Industrial Clear. Apply a very thin coat with a brush, foam brush, or gloved hands and allow it to dry. Pay close attention to sealing cracks, knots, or voids in the wood. If you’ve sealed with Industrial Clear and it absorbs into the wood, you may need to apply multiple coats. Once it's dry to the touch, sand it down with 80-grit sandpaper to create a rough surface for the next layer of epoxy to adhere to. Clean the surface of sanding debris and apply the flood coat of Industrial Clear.
Alternatively, skip the sanding step by pouring the second coat of Industrial Clear at the 3-5 hour mark when the first coat is still sticky.

If you intend to fill knots or holes with epoxy, flip the wood over so the bottom side is facing up. Use sheathing tape to mask off the holes, including small ones. Press the tape firmly to create a tight bond that will prevent any epoxy from seeping out. Alternatively, you can cut a piece of acetate to fit over the hole and tape it securely to the wood.

Eliminate the need for sanding off drips by masking off the bottom perimeter of your wood piece with good quality painter's tape. As you spread the epoxy and it flows over the sides of your piece, drips will collect on the bottom. The tape will catch these drips, and you can peel off the tape once the epoxy has dried.
Likewise, if you don't want to epoxy the sides of your piece, you can mask them off with painter's tape to keep them clean.

Elevate the wood off of your work surface using plastic cups or painter’s pyramids. Use a level and, if necessary, make adjustments with shims to ensure the wood is as level as possible.

Tip 3: Prep Your Workspace Before You Start: Tools & Temperature
Cover your work surface and floor with plastic drop sheets, and have all the tools you'll need laid out and ready to go, including dust cover materials. Keep a spray bottle of alcohol and paper towels close by for handling drips or spills and wiping down wet tools.

Most importantly, ensure the room you're working in is warm enough. Epoxy prefers warmth and if the temperature is too low, you may experience micro bubbles, surface imperfections, and the resin may not cure at all.
The ideal temperature for working with Industrial Clear is between 70-80°F (21-27°C) for both the resin room and the epoxy resin. Cold epoxy is thick and difficult to mix and spread with a milky appearance due to cold-induced micro bubbles. If this is the case, allow time for the epoxy to come to room temperature or give the tightly capped resin and hardener bottles a warm water bath, prior to measuring and mixing. Dry the bottles off thoroughly before opening them. Note that warming the epoxy may reduce the working time by about 10 minutes.
Maintain the temperature while the epoxy cures to ensure a smooth finish. If the temperature drops drastically, you may end up with dimples or other surface imperfections in the cured finish.
Tip 4: Use The Right Resin For The Job
When coating wood, it's important to choose an epoxy that prioritizes durability and safety. A high-quality epoxy resin like Industrial Clear makes all the difference in protecting both your health and your wood project, providing a gorgeous, long-lasting finish.
Durability:
Whether you’re working on charcuterie boards or tabletops, it's important to use a resin that cures into a clear, rock-hard coating. Industrial Clear is intentionally formulated to resist scratches and damage from everyday use. When prepared according to the label instructions and fully cured, Industrial Clear achieves an impressive Shore D rating of 83. Additionally, it boasts a tensile strength of 7100 psi (ASTM D638). This means it’s an incredibly strong and durable epoxy that won’t easily bend, with just the right amount of flexibility to prevent cracking. Once cured, Industrial Clear is highly resistant to high heat, oils, gasoline, bleach, most cleaners, and chemicals. With Industrial Clear, your project will look beautiful and remain well-protected for years to come.
In addition, Industrial Clear is made with the highest quality raw materials including UV stabilizers. This not only helps to keep the product clear and delay the onset of yellowing, but it also helps to preserve its glossy look and prevents brittleness down the road.
Safety
Safety is one of the most important determining factors when choosing epoxy resin. Industrial Clear is free from ingredients that can harm your eyes or skin. Unlike other tabletop epoxies, you won’t find skull & cross bone or corrosive warnings on our label or Safety Data Sheet. Since it's non-flammable, you won't need to worry about fires when working in a space with a gas heater.
Always read the label or check the Safety Data Sheet to determine what personal protective equipment you need for the epoxy you are using. For example, Industrial Clear contains no solvents or diluents, so it doesn’t have a noxious odor, release toxic fumes, or emit VOCs. This means that, as long as you’re working in a well-ventilated space, no respirator is required. Of course, we always recommend wearing gloves to avoid a sticky mess on your hands or possible skin irritation.
An epoxy for use on projects intended for food contact should state it is "food-safe", as seen on Industrial Clear's label. This indicates the product has been tested and found to be free of harmful ingredients that could leach into food and cause harm to those who consume it. Industrial Clear has passed global food safety standards and is deemed safe to use as a food-contact surface when prepared according to the label directions and allowed to fully cure.
💡 TIP: Avoid cutting directly on the cured surface to prevent scratches, but if they occur, sand down the surface, pour a fresh coat of Industrial Clear and your piece will look as good as new.
Tip 5: Measure & Mix Accurately
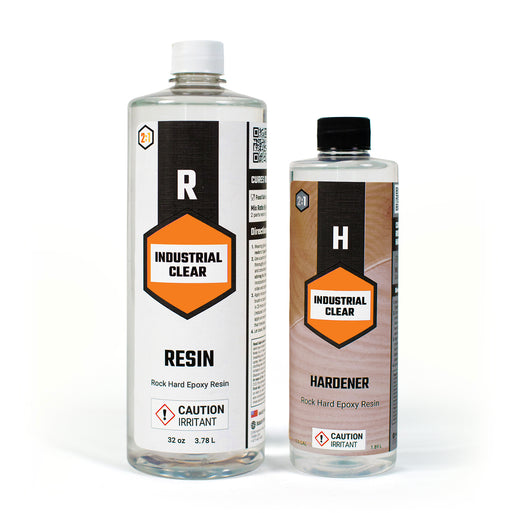
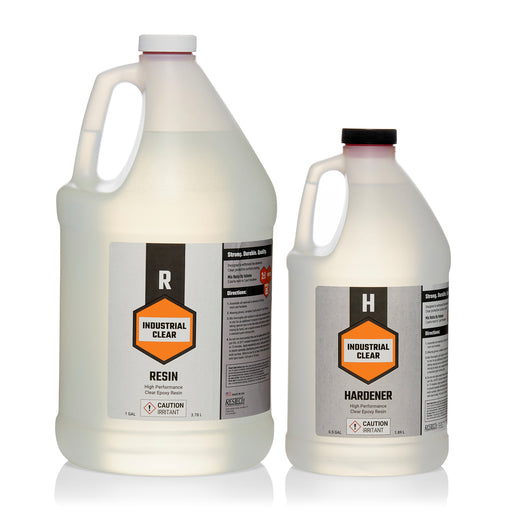
One of the key factors in achieving a hard, durable finish is to ensure the epoxy is measured carefully and mixed thoroughly. Always measure and mix according to the label instructions as they may vary from brand to brand. For example, Industrial Clear was intentionally formulated with a 2:1 mixing ratio; this results in a harder cure, which is ideal for projects that will be subject to daily wear and tear.

To use Industrial Clear, combine 2 parts resin to 1 part hardener, by volume. You can pour and mix in the same container in any order, as long as you stick to the correct ratio. Do not weigh the components or add more hardener to speed up the cure, or you’ll end up with a sticky mess. Mix thoroughly for 4 minutes using a flat-edged mixing stick to scrape the sides and bottom of the container, stirring slowly to minimize bubbles. As long as you’ve measured accurately and mixed thoroughly, you shouldn’t have issues with the epoxy cure.

💡 TIP: To determine the required amounts of resin and hardener for your project, please use our online calculator at www.industrialclear.com/calculator.
Tip 6: Time Your Pour
After mixing, you have approximately 45 minutes to pour and spread Industrial Clear before it becomes too thick to work with. However, it's important to note that epoxy resin is sensitive to both mass and temperature. If left to sit in the mixing container, it will cure much more quickly, potentially even flash curing. For this reason, we advise pouring as soon as possible after mixing for the best results. It is recommended to use a large container with a wide opening rather than one that is tall and narrow to help avoid an exothermic reaction.

After pouring, use a flat or jagged-edged spreading tool to gently guide the epoxy to the edges. You can either bring the epoxy right up to the edges without going over, or allow it to run over the sides, using a brush or gloved hand to smooth it out.


Tip 7: Use A Torch For A Bubble-Free Finish
Whether it's butane or propane, a flame torch is the best tool for removing surface bubbles in epoxy resin. While a heat gun can create cells and other effects with tinted resin, it lacks the necessary heat to effectively pop bubbles. Instead, quickly run one or two passes with a flame torch over the entire piece. Keep the flame 4-6" from the surface for best results, being careful not to hold the flame too close or in one spot for too long.
Once the bubbles have been torched, examine the surface for remaining bubbles or dust and remove them with a toothpick.

💡 TIP: Avoid Overtorching: When it comes to torching, less is more. Overtorching can result in imperfections like yellowing, ripples, or an alligator skin effect. Do not torch epoxy past the 45 minute working window.
Tip 8: Cover To Protect Against Dust
Cover your project to prevent dust, insects, hair, or anything else floating in the air from landing in the wet epoxy. A large clean cardboard box or plastic tote works well for small items.

For oversized items, create a tent by propping something large and sturdy over top of the piece and covering it with a plastic sheet.


Tip 9: Cure Completely Before Use
It’s essential to let the epoxy fully cure before putting your project into use. Industrial Clear will be solid and dry to the touch at the 24 hour mark and will reach a full, rock hard cure after 7 days. Epoxy cannot be considered safe for food contact until it has finished the curing process.
Keep in mind that curing times for epoxy resin are temperature sensitive. Cool temperatures slow down the curing process, while warm temperatures promote a faster cure. If the resin is not dry to the touch after 24 hours, try increasing the temperature. If it remains sticky, this indicates the chemical reaction has not taken place and the resin will not cure any further.

💡 TIP: If you’ve taped the bottom of your piece off before pouring, remove the tape (and the drips) once the epoxy is dry to the touch, approximately 18-24 hours after pouring. Alternatively, wait until the resin is fully cured and use a Dremel or hand sander to remove any resin drips that may have accumulated on the bottom.

Tip 10: Fix Surface Imperfections
Occasionally, imperfections may appear in the cured surface; the good news is that many of these imperfections are easily fixed. Ripples, waves, bubbles, dimples, dust, hair, bare spots, or a cloudy appearance in the epoxy can be fixed by sanding down the cured surface and applying a fresh coat.
It's important to note that spot fixing is not recommended: it’s almost impossible to achieve a seamless finish by pouring a small patch of epoxy on top of the original coat. It’s better to sand down the entire surface and pour a fresh coat for an even, flawless finish.


Discover our epoxy resin for wood.
Achieving a flawless, long-lasting epoxy finish on wood involves a series of best practices. From following the label directions to measuring accurately and curing completely, these steps will ensure a durable, gorgeous finish to protect and enhance your wood projects for years to come. Follow these guidelines, and your epoxy-coated creations will stand out with both beauty and longevity.
💡 Read how to fix holes and knots with epoxy resin.
Industrial Clear: Rock Hard Epoxy Resin