Learn how to transform a plain plywood surface into a coastal-inspired outdoor bar top with a rock-hard epoxy finish.
In this step-by-step tutorial, Dan Berg from DIYeasycrafts.com shares how he creates a one-of-a-kind epoxy resin table inspired by the ocean.
Using layered paint techniques, marine-themed decals, and Industrial Clear epoxy resin, Dan transforms a plain plywood bar top into a vibrant, durable centerpiece that's perfect for any backyard or patio setup.
Watch the full video:
Materials You'll Need:
-
Wood Bar Top - Dan's was made of plywood.
-
Masking Tape and Craft Knife – To tape off and cut the shape of the beach.
-
Latex Paint & Roller – Dan used blue for the ocean and beige for the beach.
-
Spray Paint – Dan used a light blue over the ocean and a dark brown over the beach for added dimension.
-
Marine-Themed Wall Decals – Use wall decals (not window decals) for better adhesion.
-
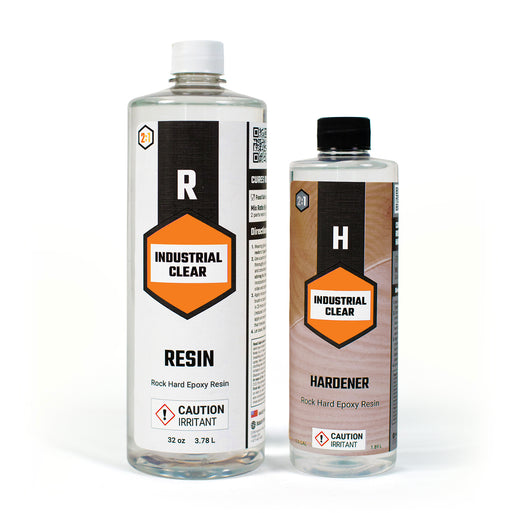
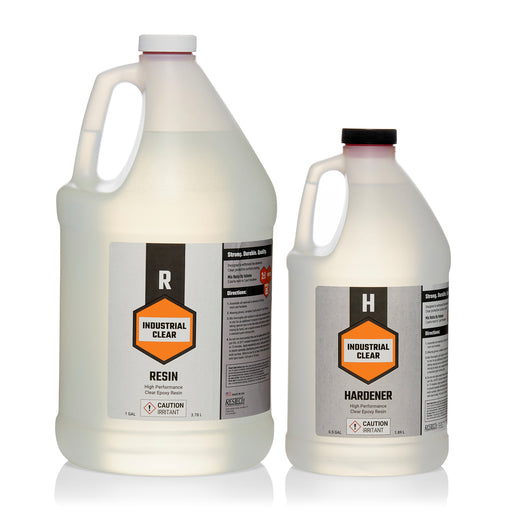
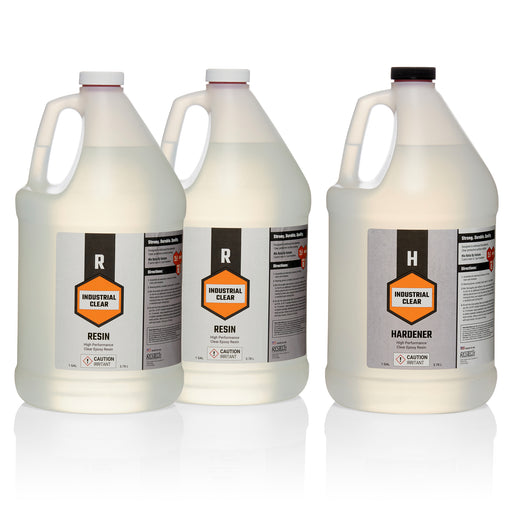
Industrial Clear Epoxy Resin – For a crystal-clear, durable topcoat.
-
Disposable Gloves – To protect your hands during mixing and pouring.
-
Measuring Jug – With graduated lines for accurate mixing by volume.
-
Mixing Stick – A flat-edged stick helps reduce bubbles while mixing.
-
Spreader – Dan used a plastic notched trowel to evenly distribute the resin.
- Butane Maker’s Torch – To pop bubbles on the resin surface for a smooth finish.
Step 1: Create the Base Layer
Dan starsts by sealing the plywood bar top — an important step to prevent the wood from releasing air bubbles into the resin as it cures. While a wood sealant works, a coat of paint is just as effective. Dan uses blue latex paint and rolls on a smooth, even layer.


Next, Dan uses painter’s tape and a craft knife to cut out the shape of a sandy beach along the bottom edge of the bar top. He then fills in the area in with beige paint to create the base for the beach.


After the paint is dry, Dan goes over the blue and beige areas with spray paint. He uses a darker tan over the sand and a lighter blue over the water, lightly misting both to add variation in color and depth. This step helps prevent the surface from looking like a flat block of solid color.


Step 2 - Add the Decals
Now that the base coat is done, it’s time to add marine-themed wall decals—coral, seaweed, fish, and more. Wall decals work better than window decals because they’re slightly stickier and adhere more effectively to wood. Be aware that the edges may still lift a little bit - if they do, you may end up needing 2-3 coats of resin to cover them completely.
💡 TIP: The decals are removable, but repositioning them will significantly reduce their ability to stick. If you’re unhappy with the placement, it’s best to use a new sticker rather than trying to move it.
Once all the stickers are in place, it’s time to add the epoxy top coat!


Step 3: Pour The Epoxy
Wearing gloves, mix 2 parts resin to 1 part hardener by volume. If you're unsure how much you need, Industrial Clear offers a handy Resin Calculator—just enter the length and width of your project, and the calculator will tell you how much resin and hardener to use and recommend the appropriate kit.
Once measured, stir the resin and hardener with a flat edged mixing tool. Stir slowly to minimize bubbles.


Dan carefully pours the resin evenly over the surface and uses a notched plastic trowel to spread it out to the edges. He spreads gently to avoid accidentally shifting the stickers out of place.
You have about 45 minutes to spread the resin before it becomes too thick to work with.
Dan says: "What’s nice about Industrial Clear is that it’s very thick, so you can spread it right up to the edge and it won’t flow over. It stays in place really nicely."


Once Dan has a nice, even coat on the bar top, he runs his gloved hand over the edges to make sure they're evenly coated.


Next, it’s important to go over the entire project with a butane torch to gently pop any surface bubbles in the resin. This step helps ensure a smooth, high-gloss finish. One to two passes with the torch should be enough—but it's a good idea to wait a few minutes to allow for any new bubbles to rise to the surface. If so, repeat the torching process.
💡 TIP: Avoid over-torching or using the torch after the 45-minute working time — doing so can cause surface imperfections in the cured resin.

Over the first couple of hours that the resin cures, Dan periodically uses his gloved hand to smooth away any drips that accumulate along the bottom edge.
This resin begins to set within 5 hours and becomes tacky to the touch. It cures fully in 24 hours and reaches its maximum hardness at 48 hours.


Step 4 - Apply A Second Coat
Dan chose to apply a second coat. You can do that without sanding as long as you pour the next layer within 3-5 hours of the first. If you wait the full 48 hours, you'll need to sand the surface to scuff it up so the fresh resin will bond. Either way, the end result is the same—a beautiful, durable finish.
For the second coat, Dan mixes a fresh batch and uses a brush to spread it on. He uses the same brush to remove any new drips as they form along the bottom edge.


The final result? A one-of-a-kind outdoor bar top, featuring a collection of colorful marine creatures, all sealed under a crystal-clear, rock-hard epoxy resin coat.


A huge thanks to Dan for demonstrating how easy it is to create an outdoor, marine-themed bar top!
Please leave any questions or tips in the comments below.
To see more of Dan's work:
Visit his website: www.diyeasycrafts.com
Watch his YouTube tutorials: @DIYeasycrafts
Industrial Clear: Rock Hard Epoxy Resin.


