Epoxy resin is a synthetic material intentionally designed to resist moisture, heat, chemicals, and various weather conditions. This unique formulation gives epoxy resin an advantage over natural gum-based products like glue. Epoxy resin is more durable, longer-lasting, and form bonds that withstand greater force and stress compared to traditional glue.
Here are our 10 top tips when bonding and repairing objects with an epoxy resin like Industrial Clear:
1. Use the right epoxy
It's important to choose the right type of epoxy resin for your project. Make sure to take into consideration the materials you will be bonding and the strength of the bond required. An epoxy like Industrial Clear is ideal for bonding and repair: it has a high Shore rating for strength and durability, but has a bit of flexibility built in to prevent cracking.
![]()
2. Clean the surface
Make sure the surfaces to be bonded or repaired are clean, dry, and free of dirt, grease, or debris. Oily contaminants in particular can weaken the bond or cause the epoxy to repel or fail.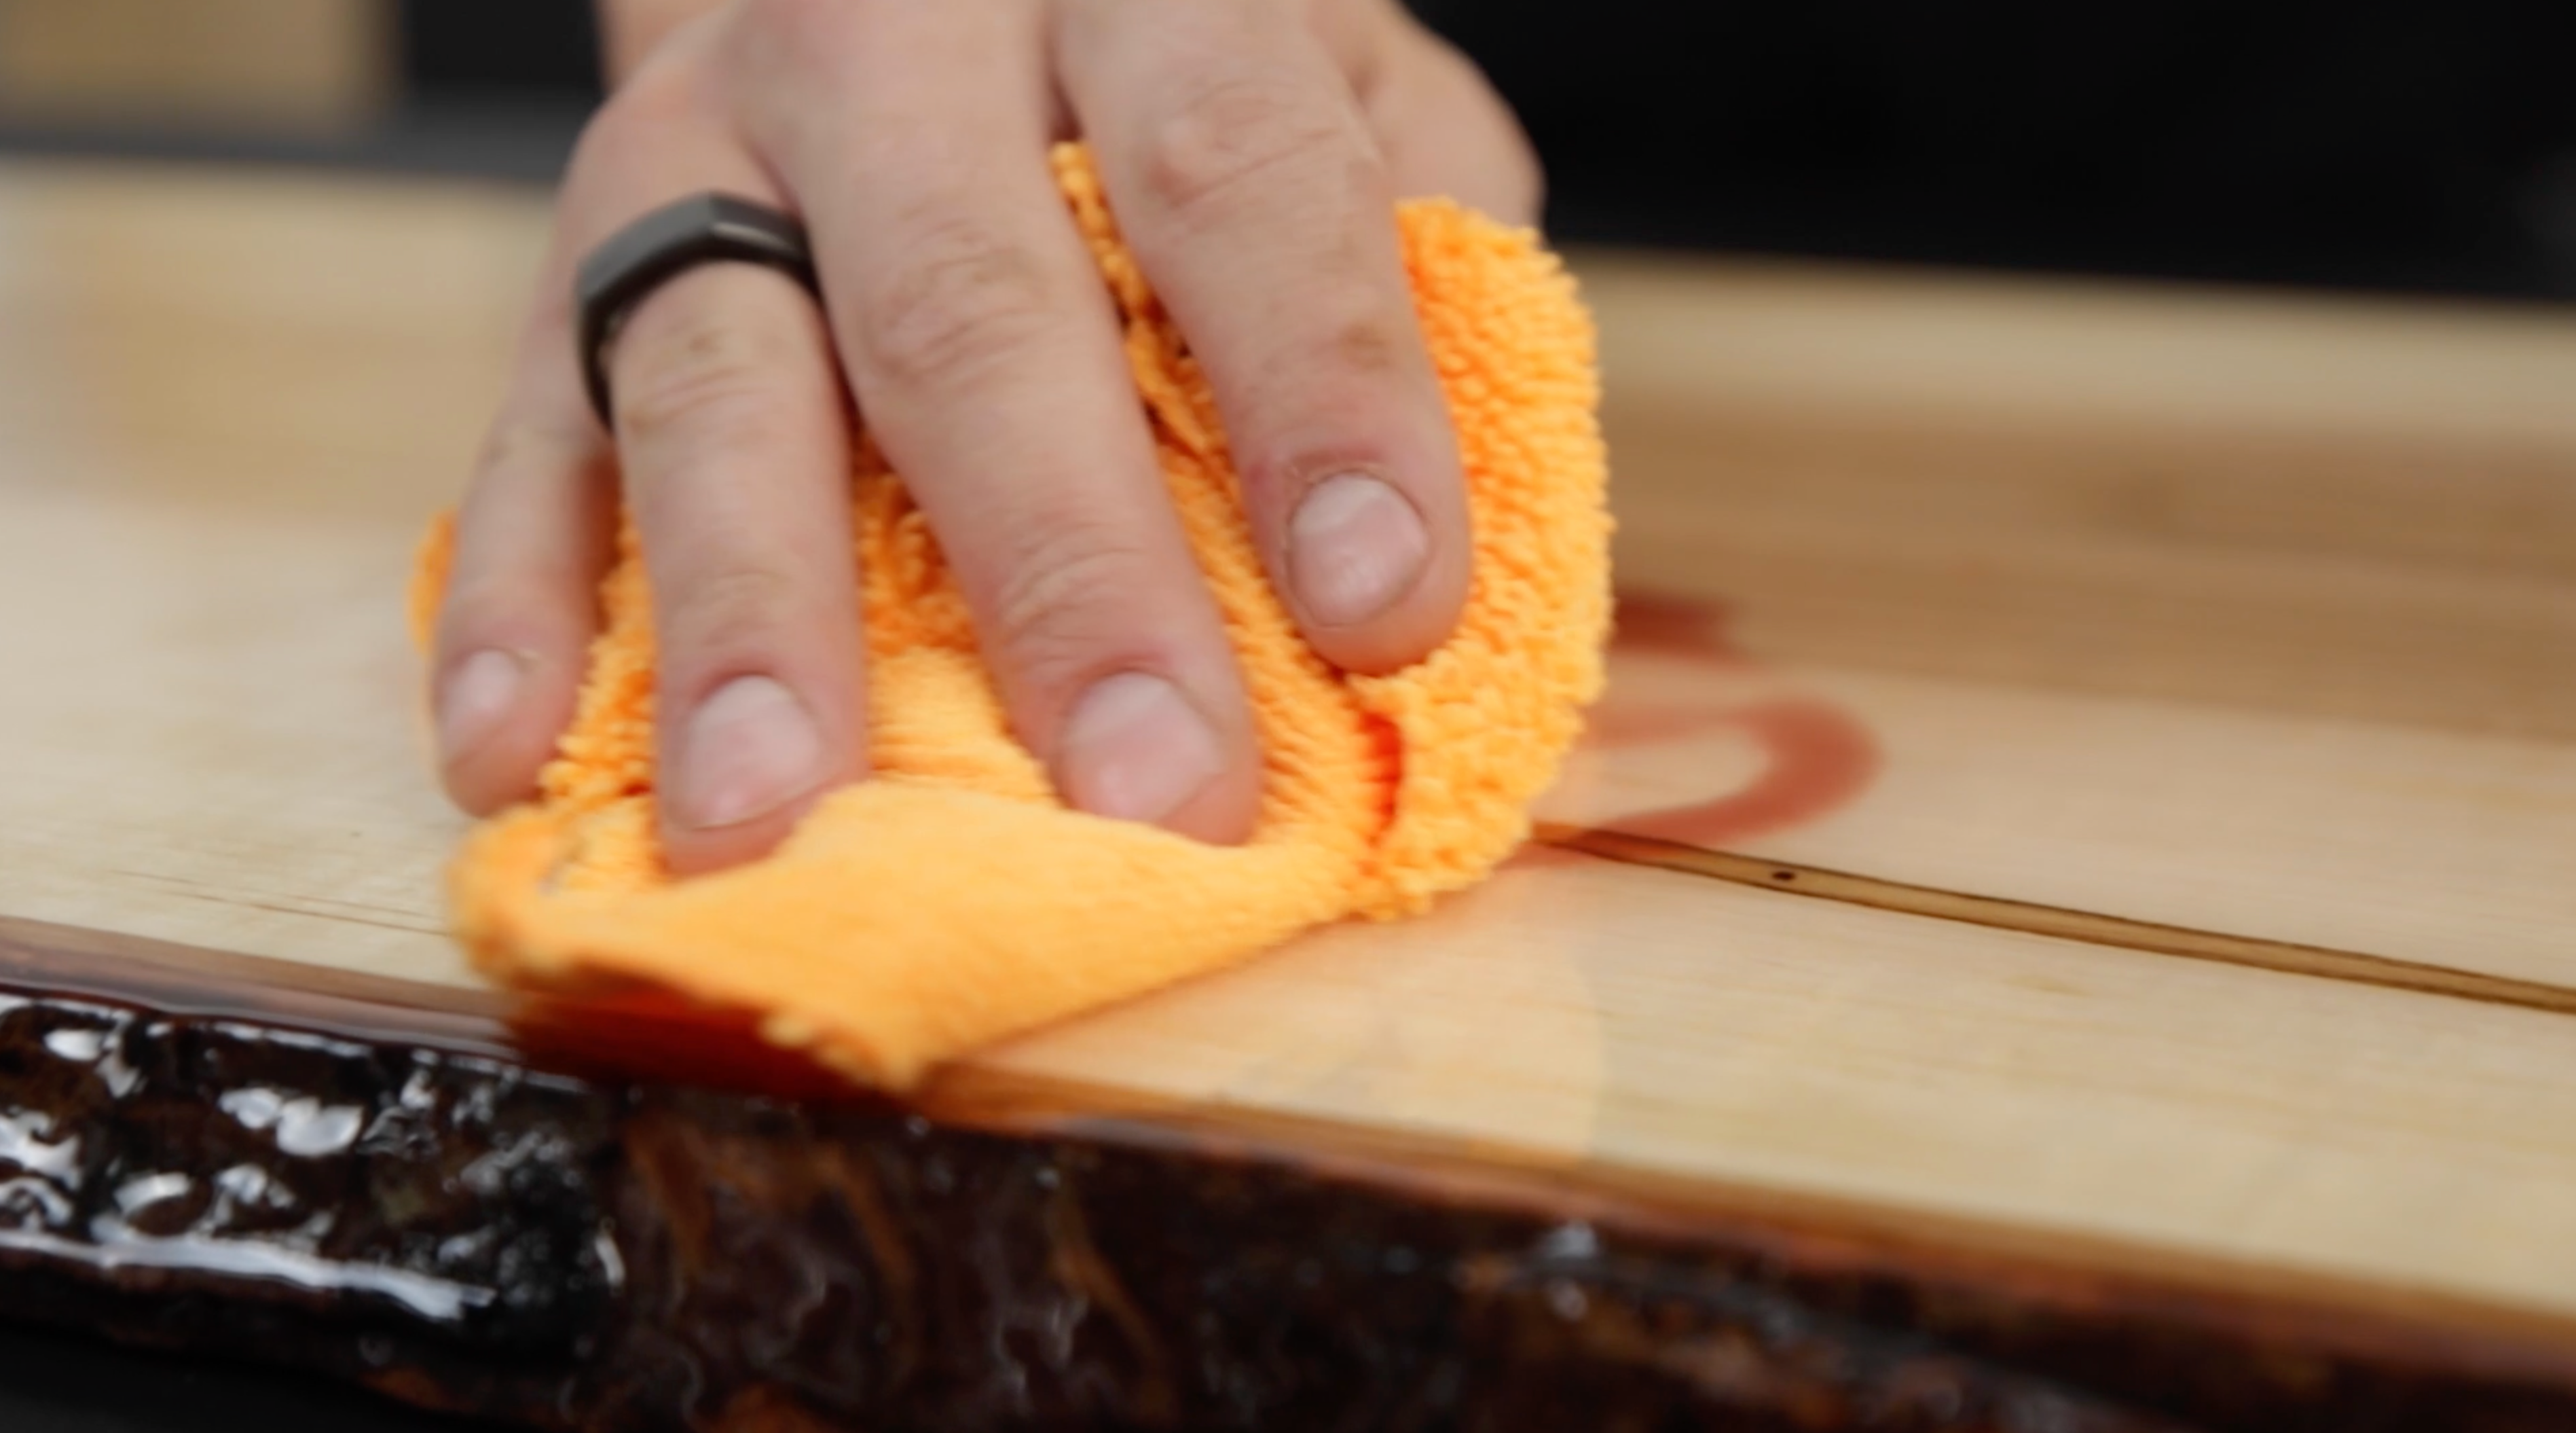
3. Sand smooth surfaces
Lightly sand smooth surfaces to roughen them up. This increases the surface area that the epoxy can adhere to, which will create a significantly better bond. Use sandpaper with a grit of 80-120.

3. Seal porous materials
It's important to note that while glue bonds porous materials like clay and wood effectively, epoxy resin tends to absorb. One solution is to seal porous materials first, creating a barrier that prevents the epoxy from being absorbed.
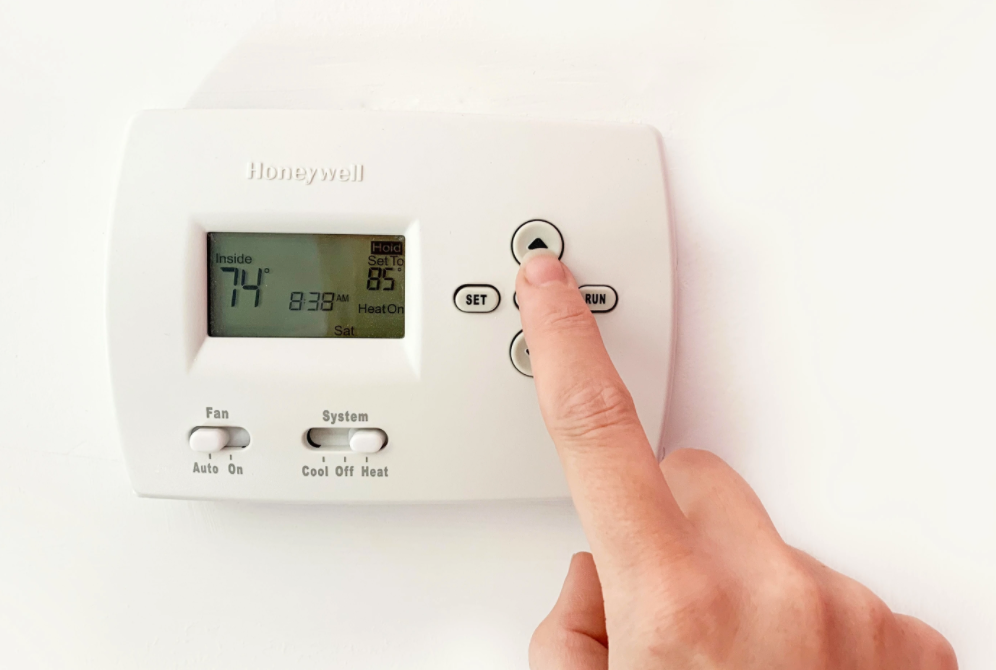
4. Work at room temperature
Avoid working in temperatures that are too hot or too cold as this can prevent the epoxy from curing properly.
5. Measure accurately and mix well
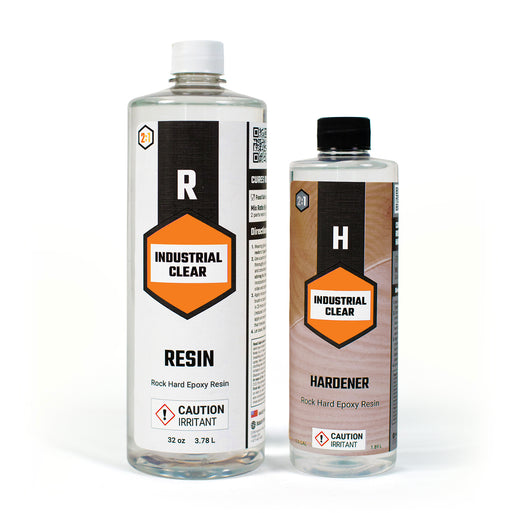
Industrial Clear epoxy resin consists of two components: a resin and hardener. It's crucial to measure them in the correct ratio (2 parts resin to 1 part hardener) in a clean and graduated mixing container to ensure accurate measurements. Mix the resin and hardener thoroughly to ensure proper curing.
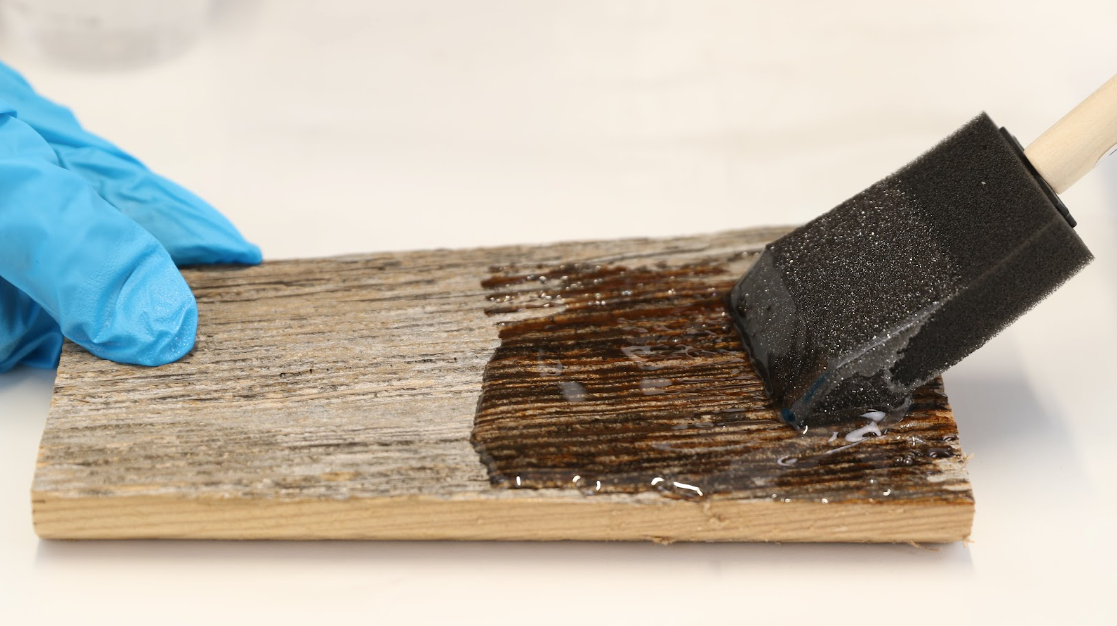
6. Apply evenly
Use a suitable adhesive applicator or brush to apply the epoxy resin evenly to the surfaces. Be careful not to apply too much resin as this can cause the bond to weaken.

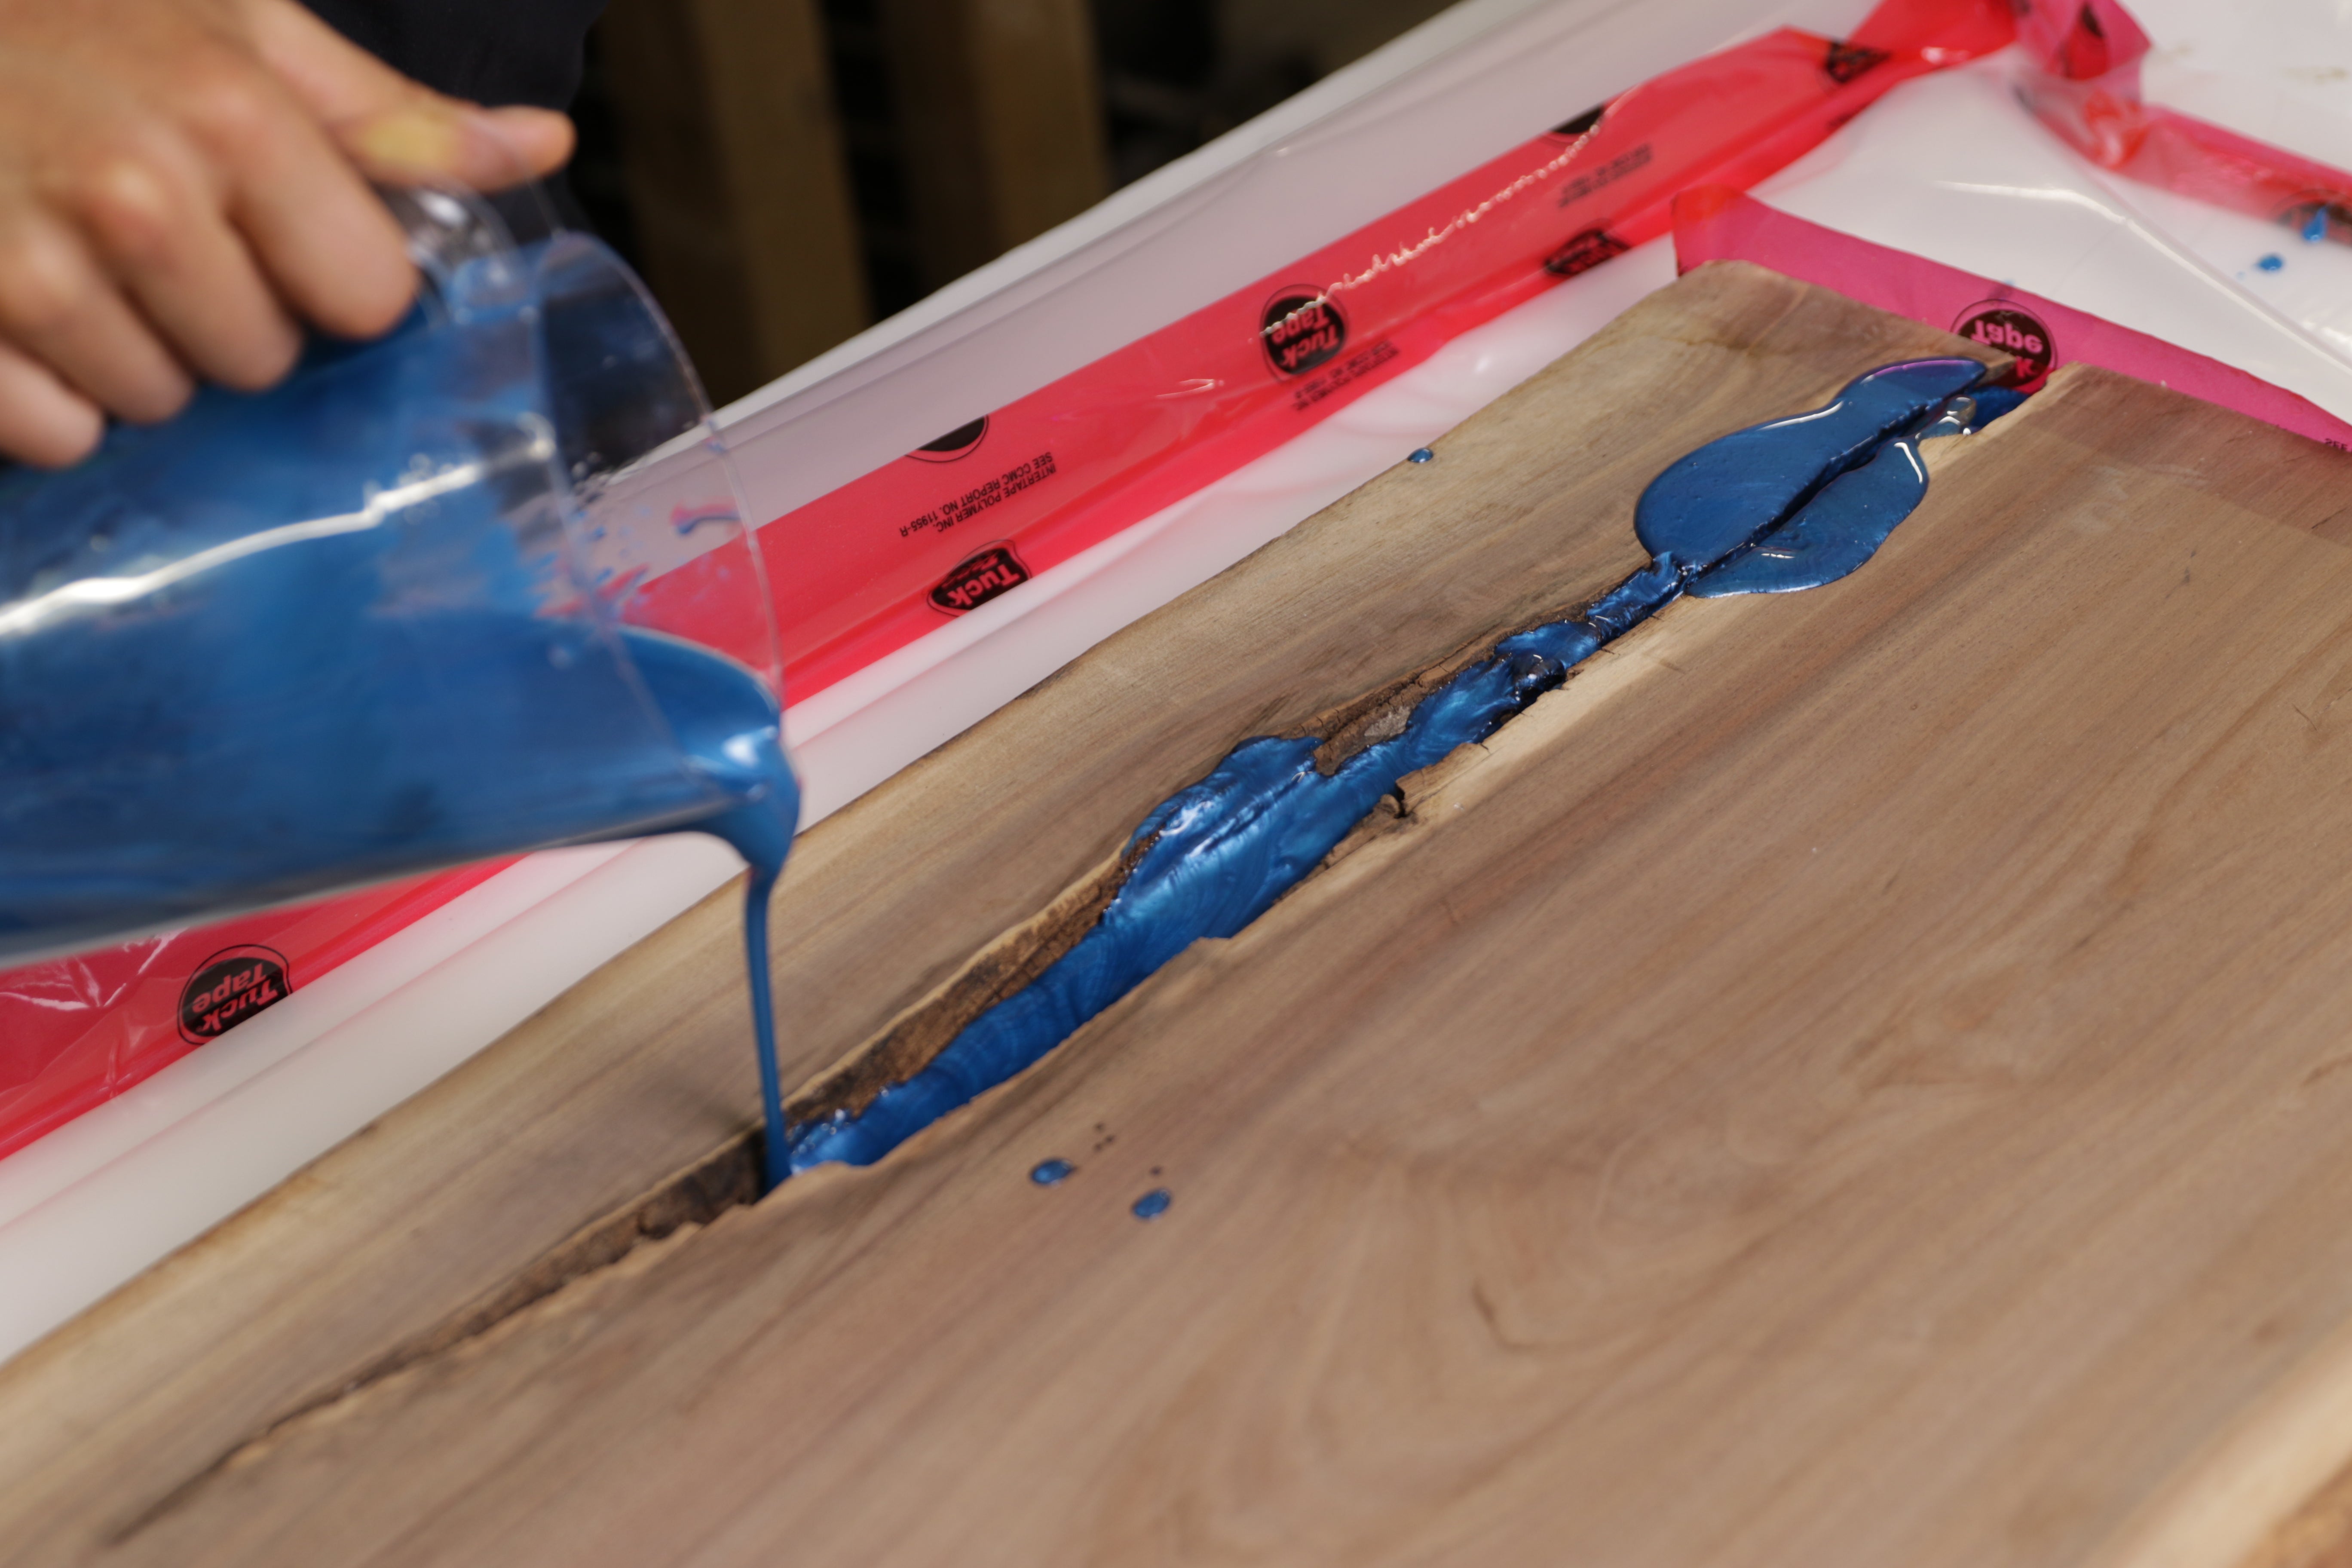
7. Tint if desired
Epoxy resin can be tinted to match your project. Use mica powder, tints or pastes designed for epoxy, or even acrylic paint. We don't recommend using more than 6% of the total combined volume of resin and hardener or the epoxy may not cure properly.

8. Work within the pot life
Apply the epoxy resin within the pot life to avoid it hardening and becoming unusable. Industrial Clear epoxy resin has a working time of about 45 minutes, so it's important to work quickly and efficiently once the resin has been mixed. This is especially important if you're using leftover resin: you may be well into the 45 minute working window, so make sure you have all of the objects you want to repair on hand and ready to go.

8. Clamp while curing
Epoxy resin takes 24 hours until it dries. When using it for repairs, you might need to use clamps or other restraints to hold the pieces in place while the epoxy cures. Getting a strong and durable bond is all about applying the right amount of pressure. If the pressure is insufficient or excessive, the bond may not hold. Aim for enough pressure so that a tiny amount of epoxy seeps out: this will let you know there are no gaps between the surfaces you're bonding. Be careful not to overdo the pressure, however, or else all the epoxy may squeeze out. Be sure to wipe up any excess epoxy that seeps out right away, while it's still wet.
9. Finish the surface
Once the epoxy has cured, you may need to sand or shape the surface to achieve a smooth, even finish. Excess epoxy can be removed with a coarse sandpaper, and fine grit sandpaper can be used to ensure a smooth finish.
Finish the repaired surface with a suitable paint or coating, if needed, to provide a protective layer against moisture and other elements.
10. Be aware of safety precautions
Not all epoxy resin is created equal, so be sure you're familiar with the safety requirements for the product you're using. For example, some epoxy resins can be harmful to your eyes, skin, and respiratory system. In such cases, it is important to wear a respirator, gloves, eye protection, and a hazmat suit. For this reason, always consult the Safety Data Sheet for the proper safety precautions before you start working with epoxy resin.
Or, choose a safe epoxy like Industrial Clear: 3rd-party toxicology tests have confirmed that Industrial Clear is non-corrosive and releases no toxic fumes or VOCs. Industrial Clear is also food-safe once cured.
It's important to note, however, that epoxy resin can cause skin irritation to those who are allergic to it. For this reason, gloves are the only safety requirement when using Industrial Clear. Gloves will also help protect your hands against a sticky mess.
Industrial Clear's Safety Data Sheet can be found on our Shop page.
What types of materials can be bonded or repaired using epoxy resin?
Epoxy has excellent adhesion to most surfaces including wood, metal, concrete, glass, stone, brick, and fiberglass that has been roughed up with sandpaper. Epoxy does not adhere well to plastic, PVC, silicone, vinyl, rubber, oily surfaces, or damp wood.
What is the best way to apply epoxy resin for bonding or repairing?
When you're bonding or making repairs, using a tool to apply epoxy is more effective than pouring it straight from the mixing cup. Pouring too much epoxy can lead to a failed bond, so it's important to have control over the amount you use.
The choice of tool depends on the surface you're working on. For larger areas, go for a foam brush or roller. If you're dealing with deep crevices, a fine brush is perfect for reaching down into nooks and crannies. And for small, tight spaces, a needle-tipped syringe or even a toothpick can do wonders.
How do I prepare the surfaces for bonding or repairing with epoxy resin?
For best results, make sure the surfaces to be bonded or repaired are clean, dry, and free of dirt, grease, or loose debris. Create a better bond by sanding smooth surfaces with coarse sandpaper to create some tooth for the resin to grab onto. If necessary, seal porous surfaces like clay and wood to create a barrier that will prevent the epoxy from absorbing.
Key Takeaways
When prepared and applied correctly, Industrial Clear is the strongest glue out there and can be used to bond and repair a wide variety of surfaces. For the best results, take time before you begin to ensure your surfaces are clean, dry, and free of any loose debris. Work at room temperature, mix and measure according to the label directions, take the appropriate safety precautions, apply the resin evenly, allow it to cure thoroughly, and if necessary, sand down the cured surface for a smooth finish.
💡 Discover our Top 10 Tips When Using Epoxy Resin On Wood.
Industrial Clear: Rock Hard Epoxy Resin